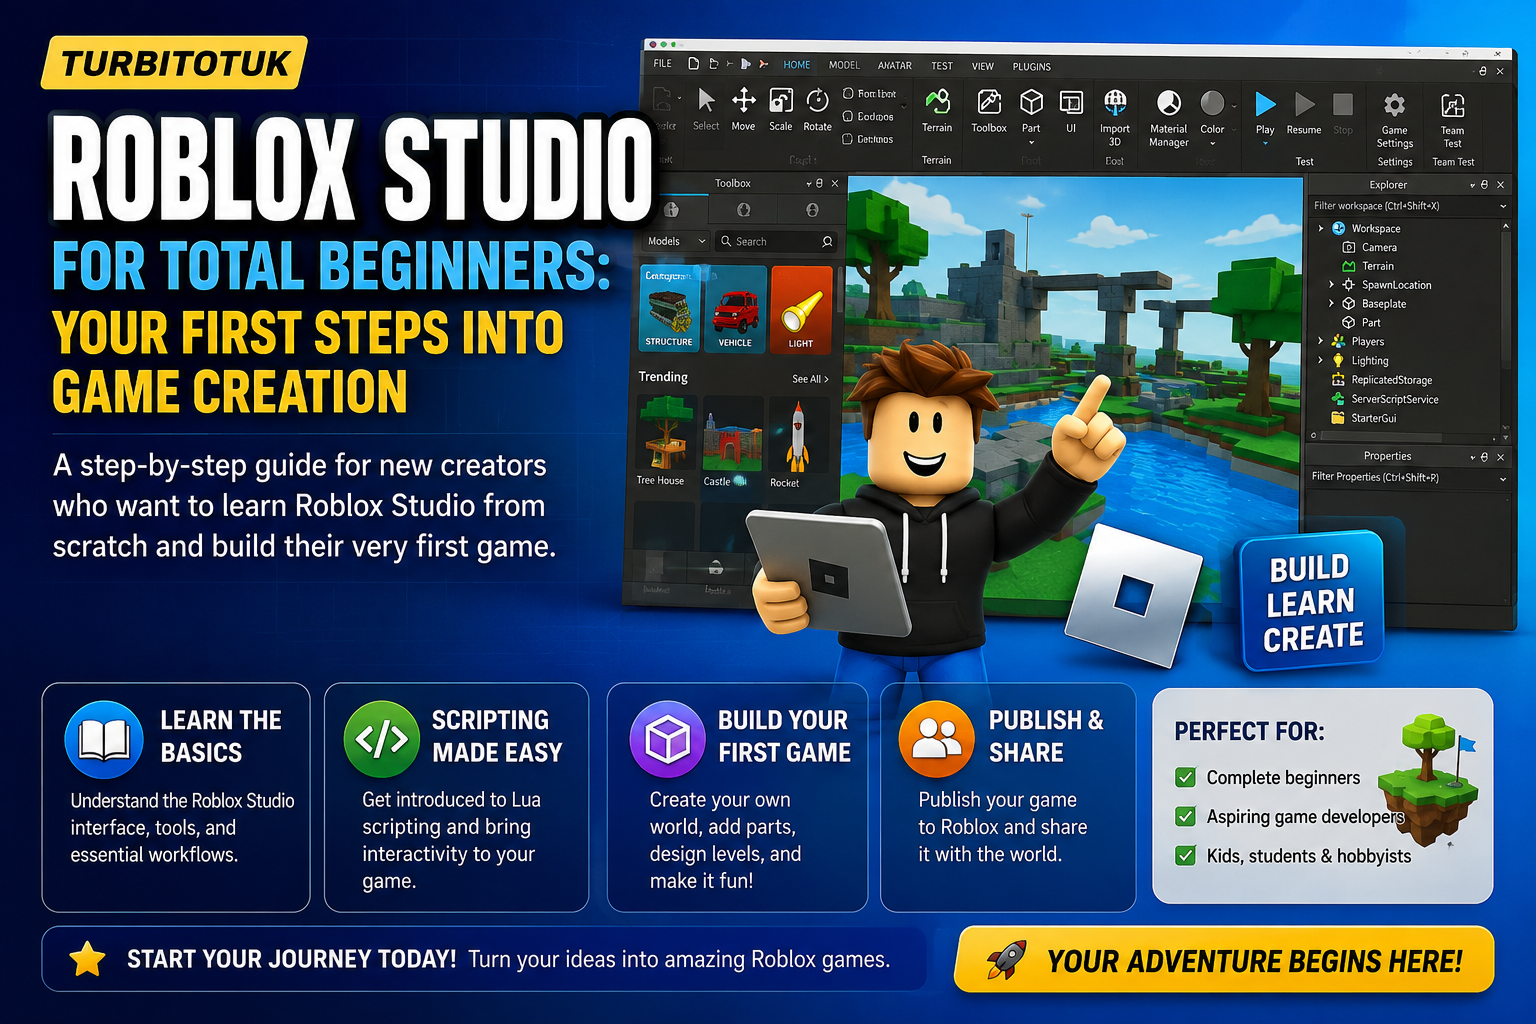
I remember the first time I opened Roblox Studio—I was completely overwhelmed. All those buttons, panels, and menus everywhere. But here’s the truth: Roblox Studio for total beginners is actually way more approachable than it looks. Roblox’s official documentation proves it. Within a few hours of mucking around, I realized I could build something playable without ever touching code. Let me walk you through what I’ve learned.
Roblox Studio for total beginners: What Exactly is Roblox Studio?
So, Roblox Studio for total beginners starts with understanding what you’re actually working with. It’s Roblox’s official, completely free game development environment. No payment, no hidden costs—just download it on Windows or Mac and you’re in business. You get everything bundled into one place: building tools, a scripting editor, a testing environment, and publishing directly to the Roblox platform. That’s insane value.
I spent months thinking I’d need expensive software like Unity or Unreal Engine. Then I discovered you can build legitimate, playable games here for nothing. And they actually work smoothly across devices. The team at Turbitotuk covers this stuff regularly, and it’s genuinely one of the best-kept secrets for aspiring game developers.
Getting Started: The Real First Steps
First things first—you need a Roblox account. Just go to roblox.com, sign up, and navigate to the create section. Download Roblox Studio from there. The installation takes a few minutes. Don’t be scared by the file size; it’s optimized and won’t bloat your system.
When you first launch it, you’ll see the home screen with templates. This is your golden ticket. Don’t jump straight into a blank project—seriously, don’t. The templates are there for a reason. I started with a simple platformer template, and within two hours, I had a working obstacle course. That’s the kind of quick win that hooks you.
Understanding the Main Panels
Your workspace has three critical areas to know:
- The 3D Viewport: This is where your game comes to life. You build here, place objects, see it all rendered in real-time.
- The Explorer Window: Think of this as your game’s table of contents. Every object, every script, everything gets listed here hierarchically.
- The Properties Panel: Change an object’s color, size, material, position—it’s all here. This is where customization magic happens.
When I learned how these three panels talk to each other, the interface suddenly made sense. You’re not juggling 50 different tools; you’re just moving between these three logical areas.
Building Your First Game Without Code
Here’s what surprised me: you don’t need to script anything for your first project. Seriously. I built an entire playable obstacle course—platforms, jumps, hazards—using only basic shapes and the properties panel. No Lua, no scripting, just creativity.
Start by adding parts. Click on «Insert» in the menu, select «Part,» and choose from blocks, spheres, wedges, or cylinders. Use the Move tool (keyboard shortcut: M), the Rotate tool (R), and the Scale tool (S) to position and shape them. It’s like digital building blocks. Customize their appearance using the Properties panel—change colors, add materials, adjust transparency. That’s it. You’ve just created a platform.
Duplicate parts with Ctrl+D (Windows) or Command+D (Mac), arrange them into a path, and boom—you’ve got an obstacle course. Players can jump, fall, succeed, fail. It’s a complete game loop. Turbitotuk’s community actually discusses this approach a lot because it removes the coding barrier that scares newcomers away.
When You’re Ready: Introducing Scripting
Once you’ve built something basic and understand how objects and properties work, scripting becomes less intimidating. Roblox uses Luau, a programming language derived from Lua. It sounds complex, but the basics are surprisingly logical.
Your first script might be something simple: make a platform disappear when a player touches it. You’d right-click an object, insert a script, and write maybe 10 lines of code. The script detects the touch event, removes the part from the workspace, and that’s done. Gameplay complexity achieved with minimal effort.
The beautiful part? You don’t have to jump into scripting immediately. Build three projects without code first. Get comfortable. Then learn Lua when you genuinely want to add interactivity. Most players don’t need complicated systems to have fun; they need creative level design and responsive controls.
Testing Your Creation
Roblox Studio has a built-in play button. Hit it, and your game launches in a test window. You’re actually playing it as a user would. Jump around, test your platforms, find bugs, then stop and go back to building. This tight iteration loop is massive. In traditional game engines, testing can be slow. Here, it’s instant. I can test, make a tweak, test again, all in under five seconds.
Test constantly. Don’t build the whole game and only test at the end. That’s how you discover broken physics or impossible jumps way too late.
Publishing Your Game to Roblox
Once you’re happy with your creation, publishing is straightforward. Go to File → Publish To Roblox. Fill in your game’s name, description, and thumbnail image. Set it as public, and boom—your game is live. Real players can visit it, play it, and leave feedback. It’s surreal the first time someone random plays something you built.
You won’t make money immediately. Monetization on Roblox involves in-game purchases, game passes, and the Developer Exchange program—but that’s a separate conversation. The joy is in building and having people play your work.
Avoiding Common Beginner Mistakes
Learn Lua basics early, even if you’re building simple games. Start with touch events and timers—they unlock tons of gameplay possibilities without being overwhelming. Save constantly (Ctrl+S). Roblox Studio has autosave, but manual saving is a habit that saves heartache. Use the Toolbox wisely. There are thousands of free models available, but customize them so your game looks unique. Don’t just copy-paste other people’s work.
Also, scope your first project realistically. An obstacle course, a simple tycoon game, a basic simulator—these are perfect first projects. Don’t try to build an open-world RPG on day one. That path leads to abandonment.
Resources That Actually Help
Roblox’s Creator Hub has official tutorials that walk you through creating your first game—usually a 3D platformer where players collect coins for jump power. It’s well-structured and legit. Beyond that, YouTube has incredible creator channels dedicated to Roblox development. There are also paid courses, but honestly? You don’t need them starting out. The free resources are genuinely excellent.
Related content
Frequently Asked Questions
Do I really need to learn coding to use Roblox Studio?
No, not for your first projects. You can build playable games using only the visual building tools—parts, properties, and templates. Scripting (Luau) becomes relevant when you want to add interactive mechanics like moving platforms or collectibles. Start with building, add code later.
Is Roblox Studio truly free?
Yes, completely. Downloading and using Roblox Studio costs nothing. You can build, test, and publish games for free. Some advanced features or developer programs like the Developer Exchange may have monetization options, but the core tool is 100% free.
How long does it take to build my first game?
A playable obstacle course? Two to four hours if you use templates and skip scripting. Something more complex with interactivity? A few days to a couple of weeks depending on scope and how quickly you pick up Lua basics. The key is starting small and iterating.
Can I actually make money from games I create in Roblox Studio?
Yes, but it’s not automatic. You earn through in-game purchases, game passes, and the Developer Exchange program if your game gains traction. It takes time, players, and engagement. Focus on creating good games first; monetization follows naturally if people enjoy them.
Conclusion
Roblox Studio for total beginners isn’t as scary as it looks. You’ve got free tools, solid templates, instant testing, and a built-in audience of millions. Start with building instead of coding, focus on small projects, and iterate constantly. Most importantly, don’t overthink it—just start. Drop a comment below telling us what kind of game you want to build first, or share this with a friend who’s curious about game development.